How To: Run your Case Fans at 5v to Decrease System Noise
 Here is an easy guide that shows your how to change the voltage of your case fans from the default 12 volts to a lesser 5 volts which allows your fans to spin at a much lower speed, resulting in much less noise from your computer. Obviously this reduces the ability of the fans to cool as well, but most of the times doing this makes sense when your computer already has more than adequate cooling.
How to: Run your Case Fans at 5 volts to Reduce Computer Noise.
This guide will show you how to change the voltage of your case fans from the default 12 volts to a lesser 5 volts which allows your fans to spin at a much lower speed, resulting in much less noise from your computer. Obviously this reduces the ability of the fans to cool your computer , but most of the times doing this makes sense as computer systems usually have more than adequate cooling. Be sure to check the temperatures of your system to see if this is a viable option for you. Now, on to the ‘How to’ portion:

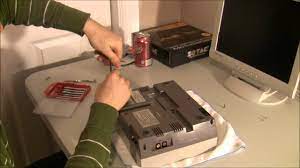
Everybody has two or more of these in their computer case. Case fans can get pretty noisy, especially if they arent configured to thermally adjust or aren’t attatched to some sort of fan controller. We are going to show you how you can acheive a quieter running fan without fancy controllers. Here we have your everyday casefan, let’s go through the steps of undervolting this fan to make our computer less obnoxious.

Here we show the layout of what is called a molex connector. These lines of power come out of the power supply of your computer, they carry a 12 volt line and a 5 volt line of power to the devices inside your computer. This diagram shows how we can move our fans wires over to the 5 volt rail to reduce the fanspeed.
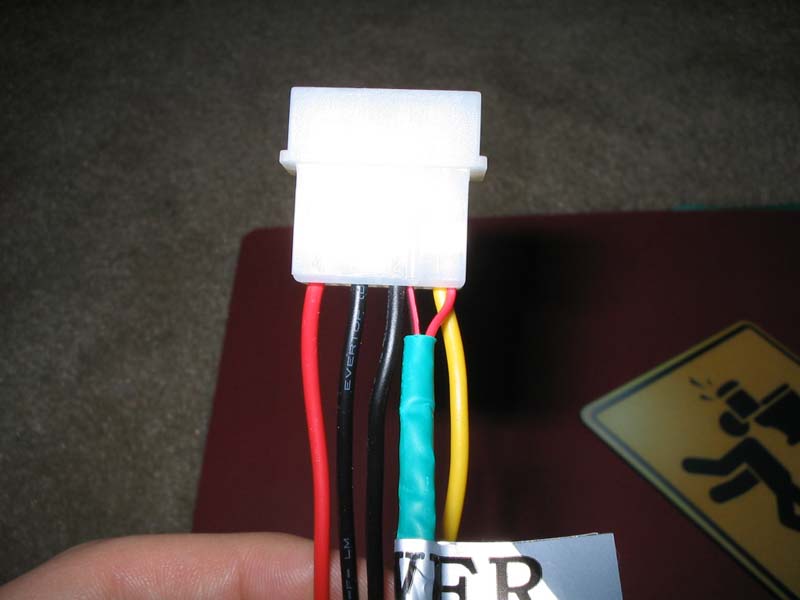
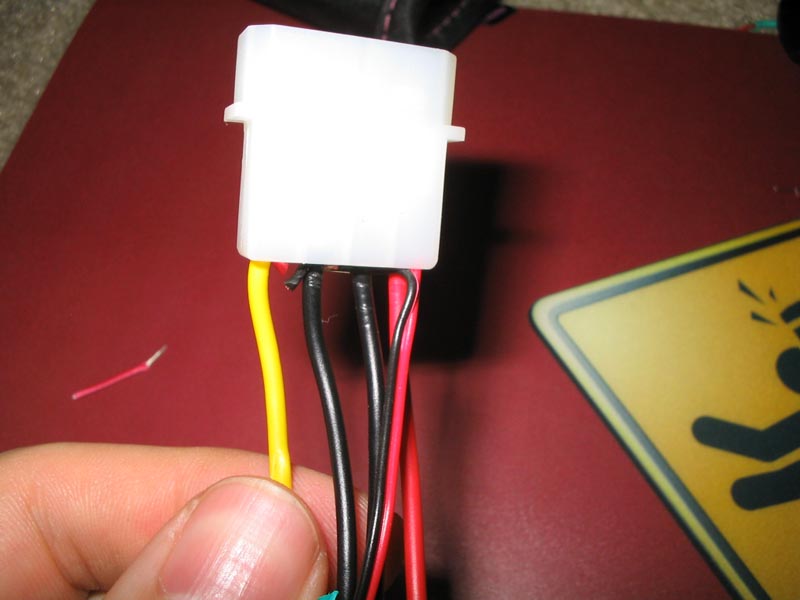
Here we see the fan wires in their stock position. The wires attatch to the molex pins
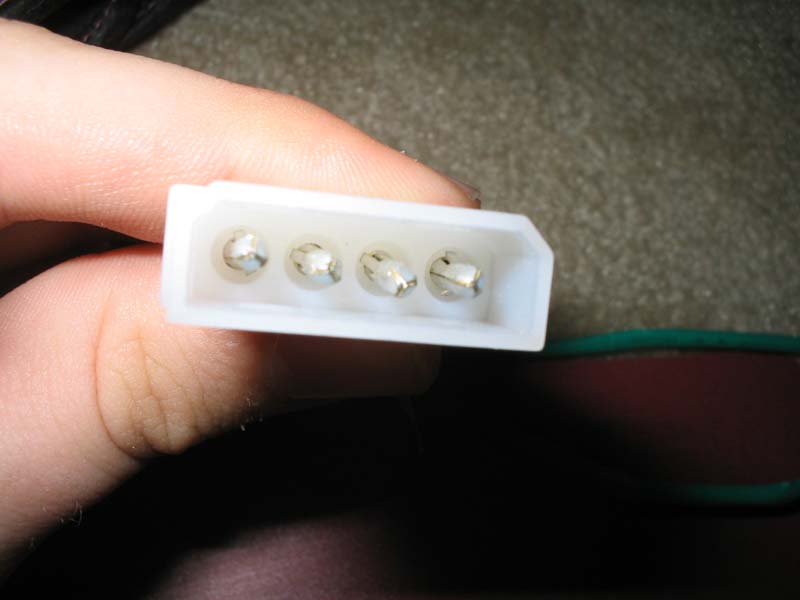
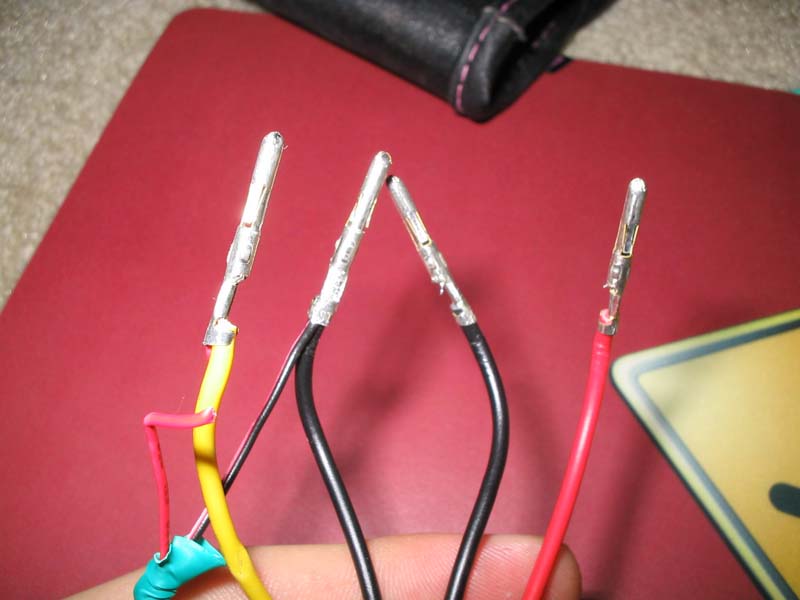
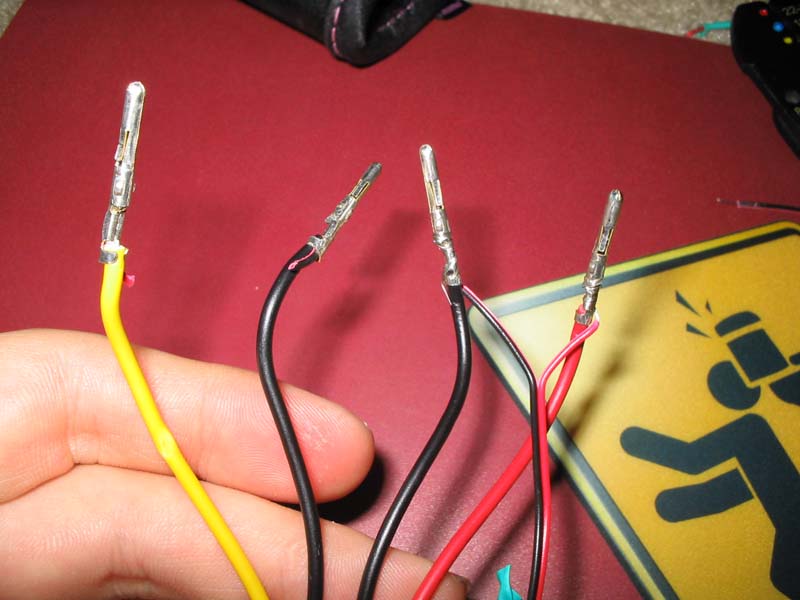
Here the pins are on the other side. In order to change our voltage configuration, we have to remove these pins. The pins are designed so they are held in place by metal clips. Unless you have a specialized tool, these pins are easily removed from the metal housing by using tweezers to push the clips flat while pulling on the wire from behind.
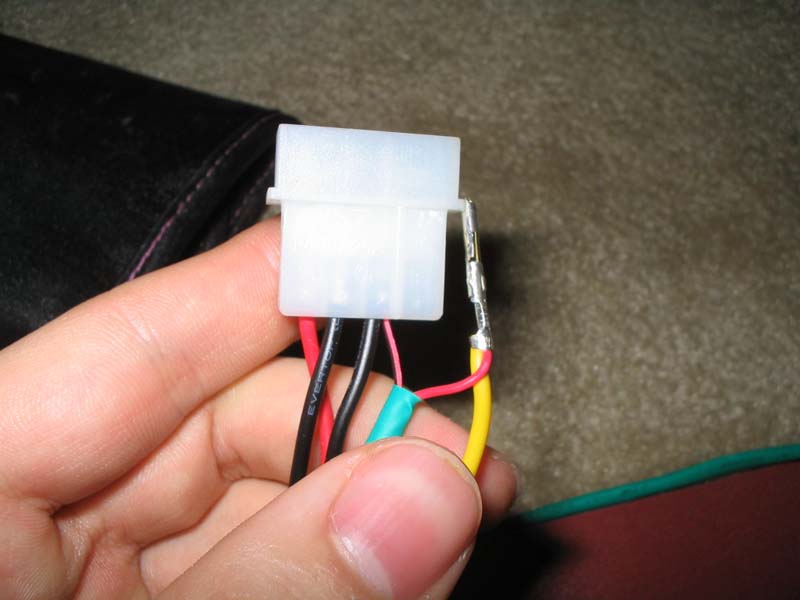
See, That wasn’t too hard.